Over the last year I’ve been supported by the Alabama State Council for the Arts’ inaugural Gay Burke Memorial Fellowship in Photographic Arts.
The fellowship has allowed, in part, me and Jared Ragland to continue working on our project, Where You Come From Is Gone, which explores the representation of memory and absence through a series of wet-plate collodion tintype photographs documenting sites of Native American habitation and removal across the American South.
I’ve also been designing and building an ultra large format 20x20” field camera, and this blog post will serve as the holding ground for build updates.
I’ve researched a camera build of this scale for years, off and on, and have drawn my initial plan in SketchUp, with the goal of having my friends at Alabama Sawyer cut out the parts on their CNC, for the prototype at least. The prototype is made of plywood but the final build will be made of some cherry that’s been saved by my dad from his dad.
Here’s an overview of the camera as animated in SketchUp. It’s a rough sketch, but you get the point.
After the design was completed, I set out to make the ground glass. Several hours of hand-grinding with 5 micron grit (3300 grit sandpaper equivalent) turned into my first homemade proper ground glass. The best I’ve done before this is sandpaper on plexiglass, so this is a big upgrade.
Soon the prototype build should be done and we can continue our wet plate work at a much larger scale.
Here are some progress photos. I’ll update as things progress.


Nearly finished

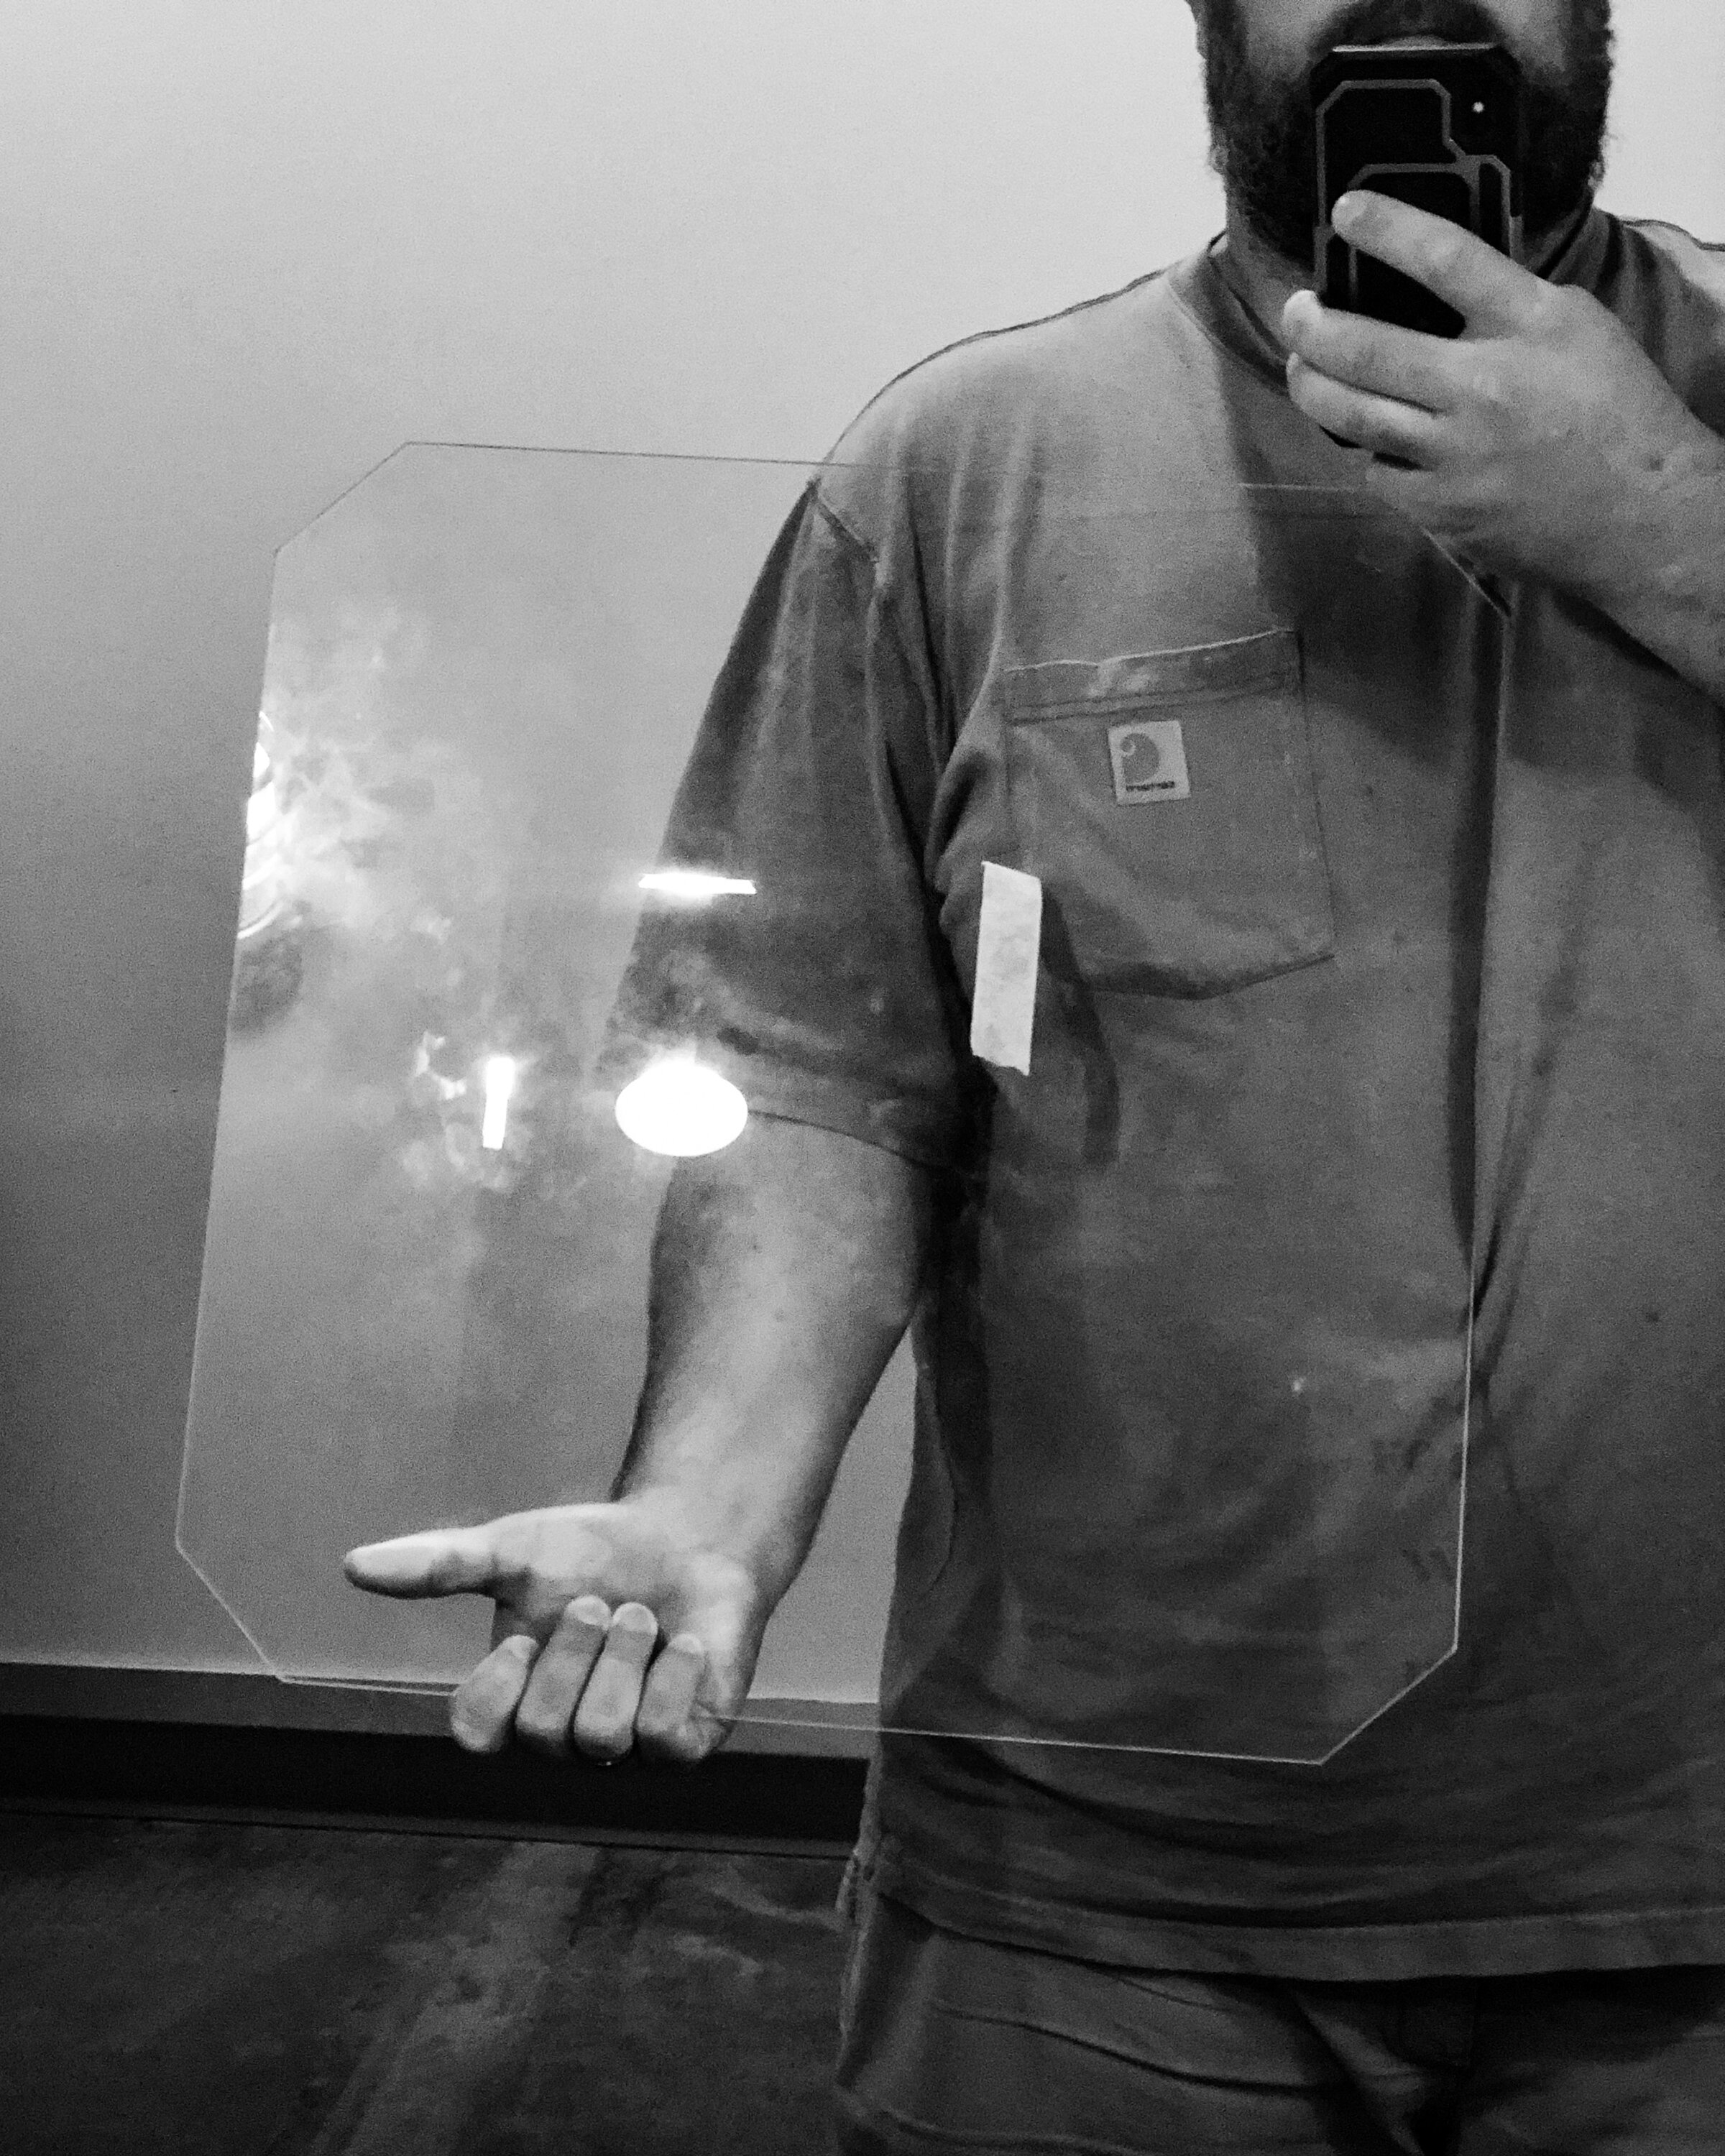
Done and in the ground glass frame

First pieces, freshly cut at Alabama Sawyer


Lens dry fit. Using a Wollensak Verito Soft Focus ƒ4 18” lens that’s in really terrible shape. But it doesn’t matter too much since this will be used with wet plate work, which is SUPER slow.

Dry fit for dark slide.
Glue up is still in process. Hoping to have a rough build in a couple of weeks. I’ve got the bellows (ordered from CustomBellows.co.uk, because I’d still be fretting over the materials, I’m confident) ready for glue up onto their small frame for mounting in the standards. That’s gonna be a trip.
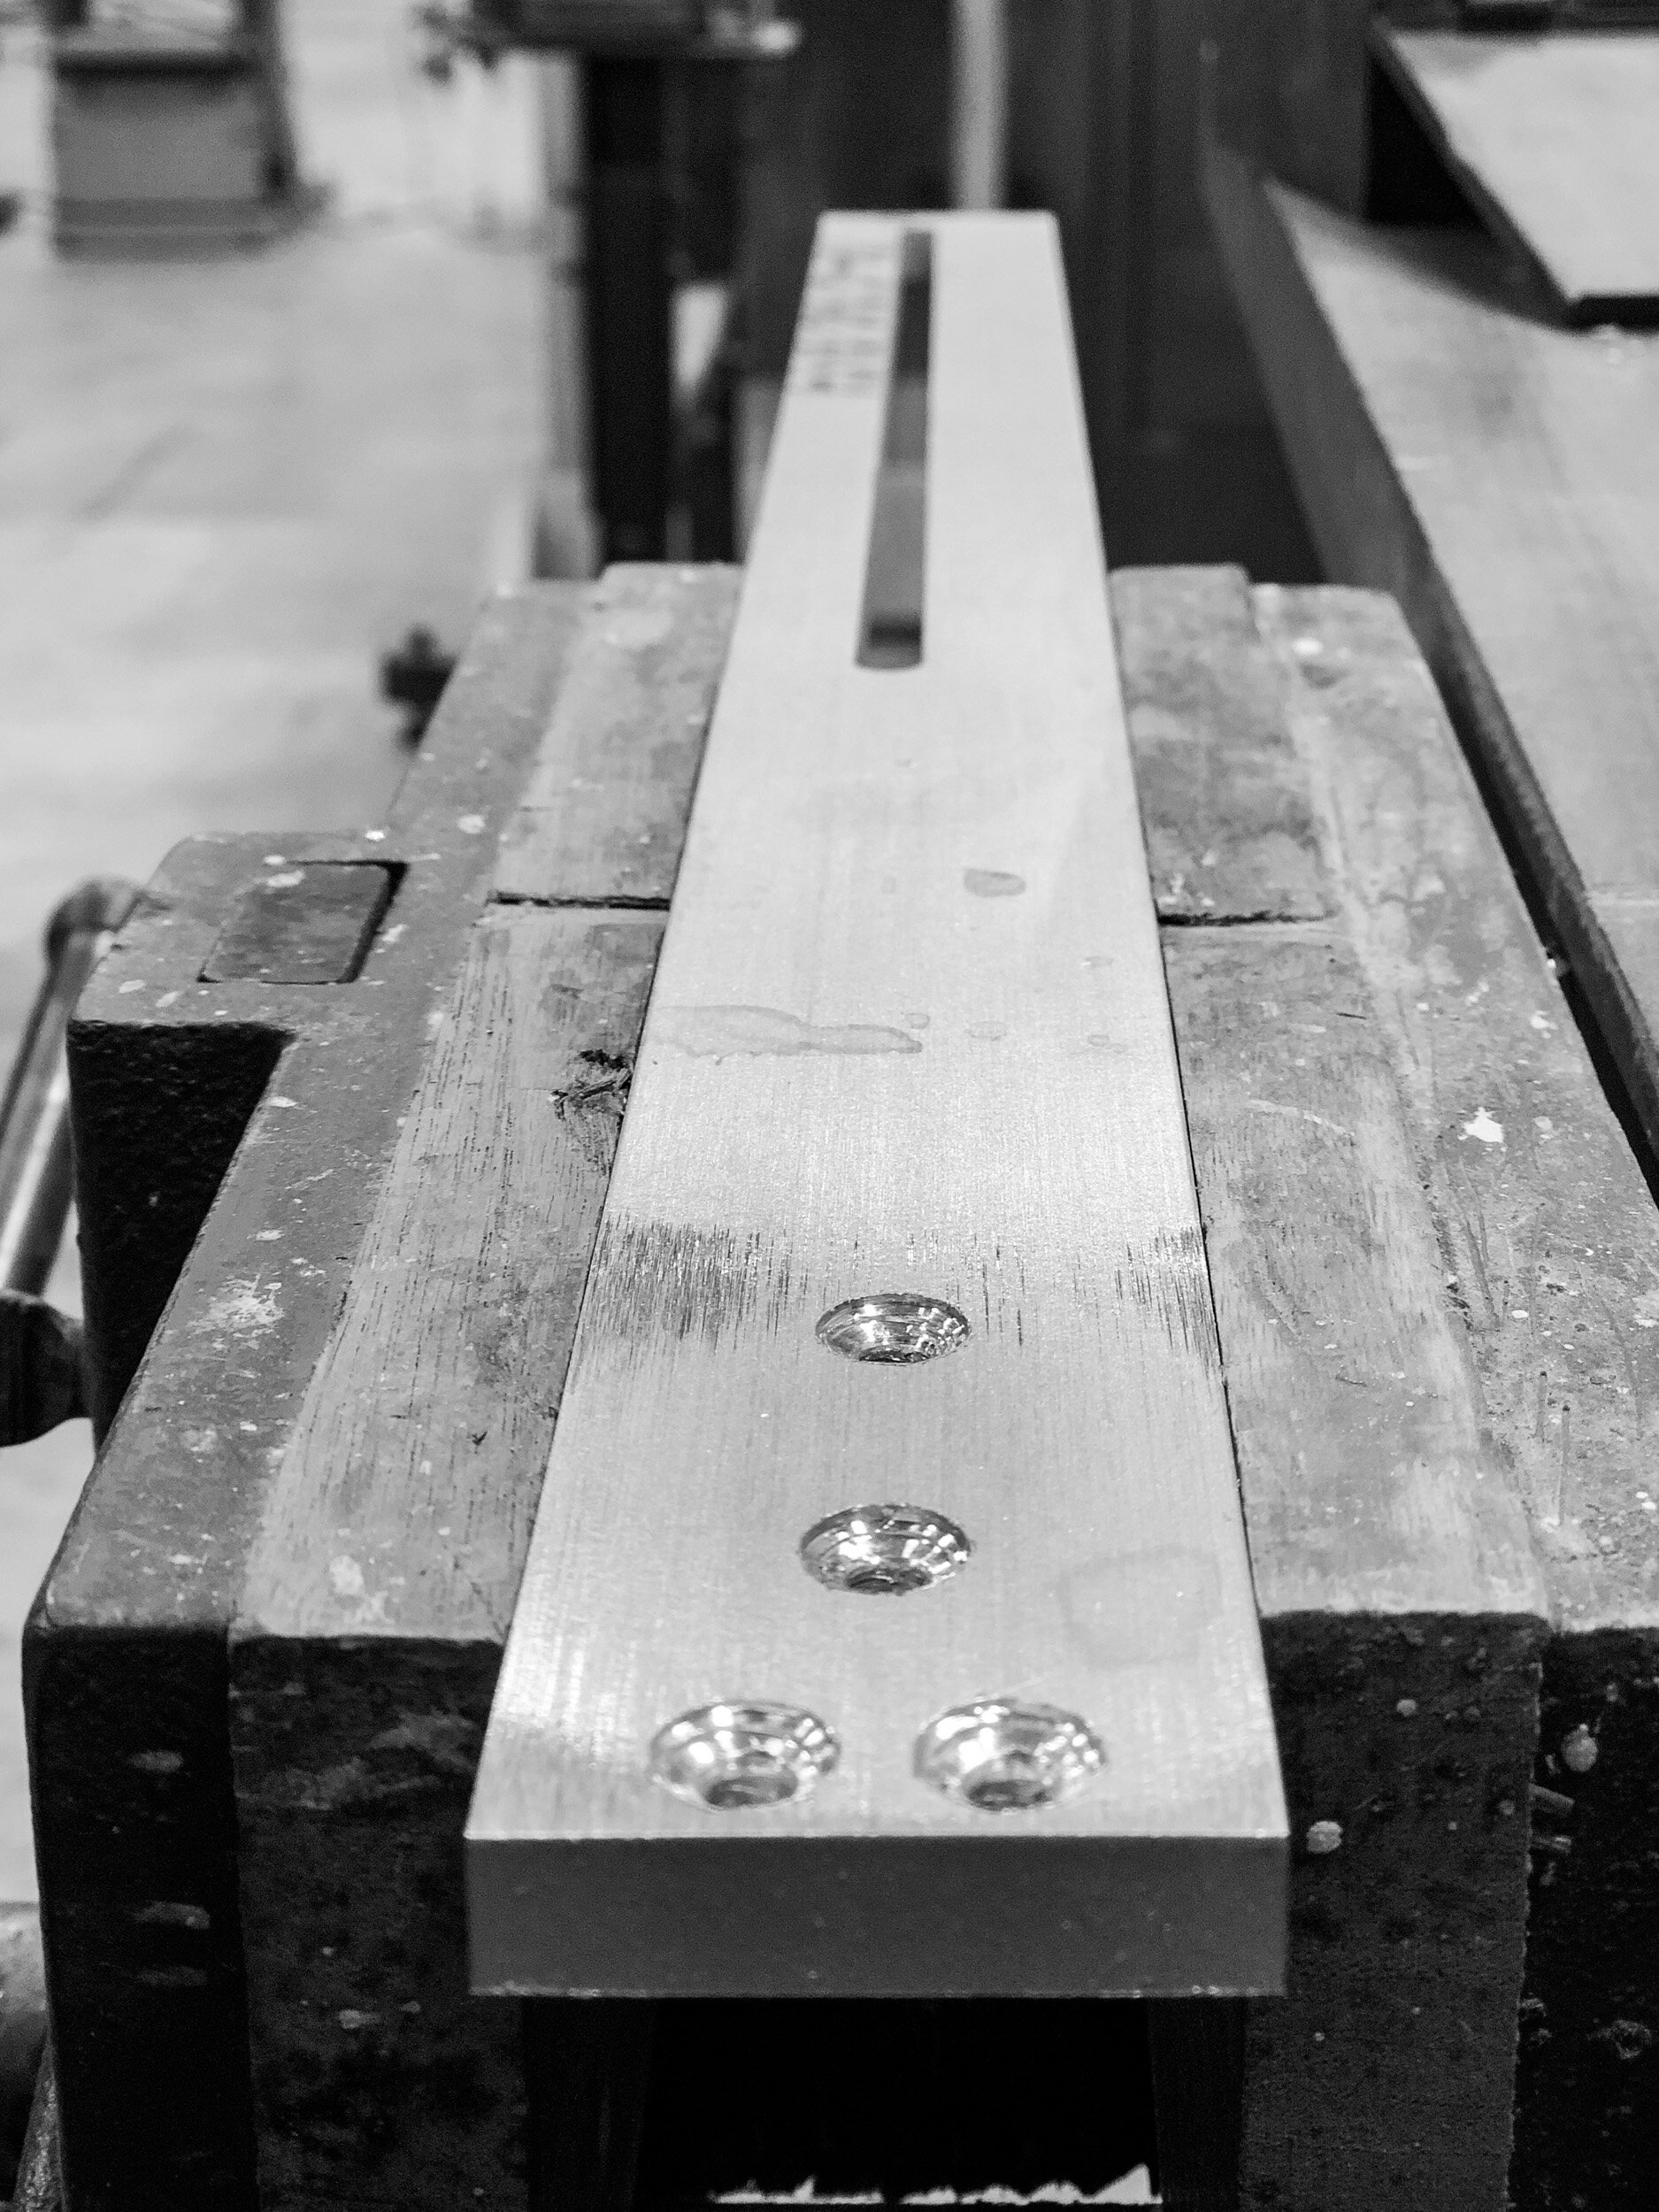
Chamfering countersinks for the front standard screws


Rough-in of front standard
More to come as this project continues.

Finally, years later, I have made myself continue this project. I was delayed for a long time by either space constraints, work or life schedule, or ennui. I have actually mounted the front standard for real, and am attempting to get this thing finished up. I have maybe a month of usage out of the garage and I’m hoping to get things thing together in that time and start shooting in earnest as soon as possible.

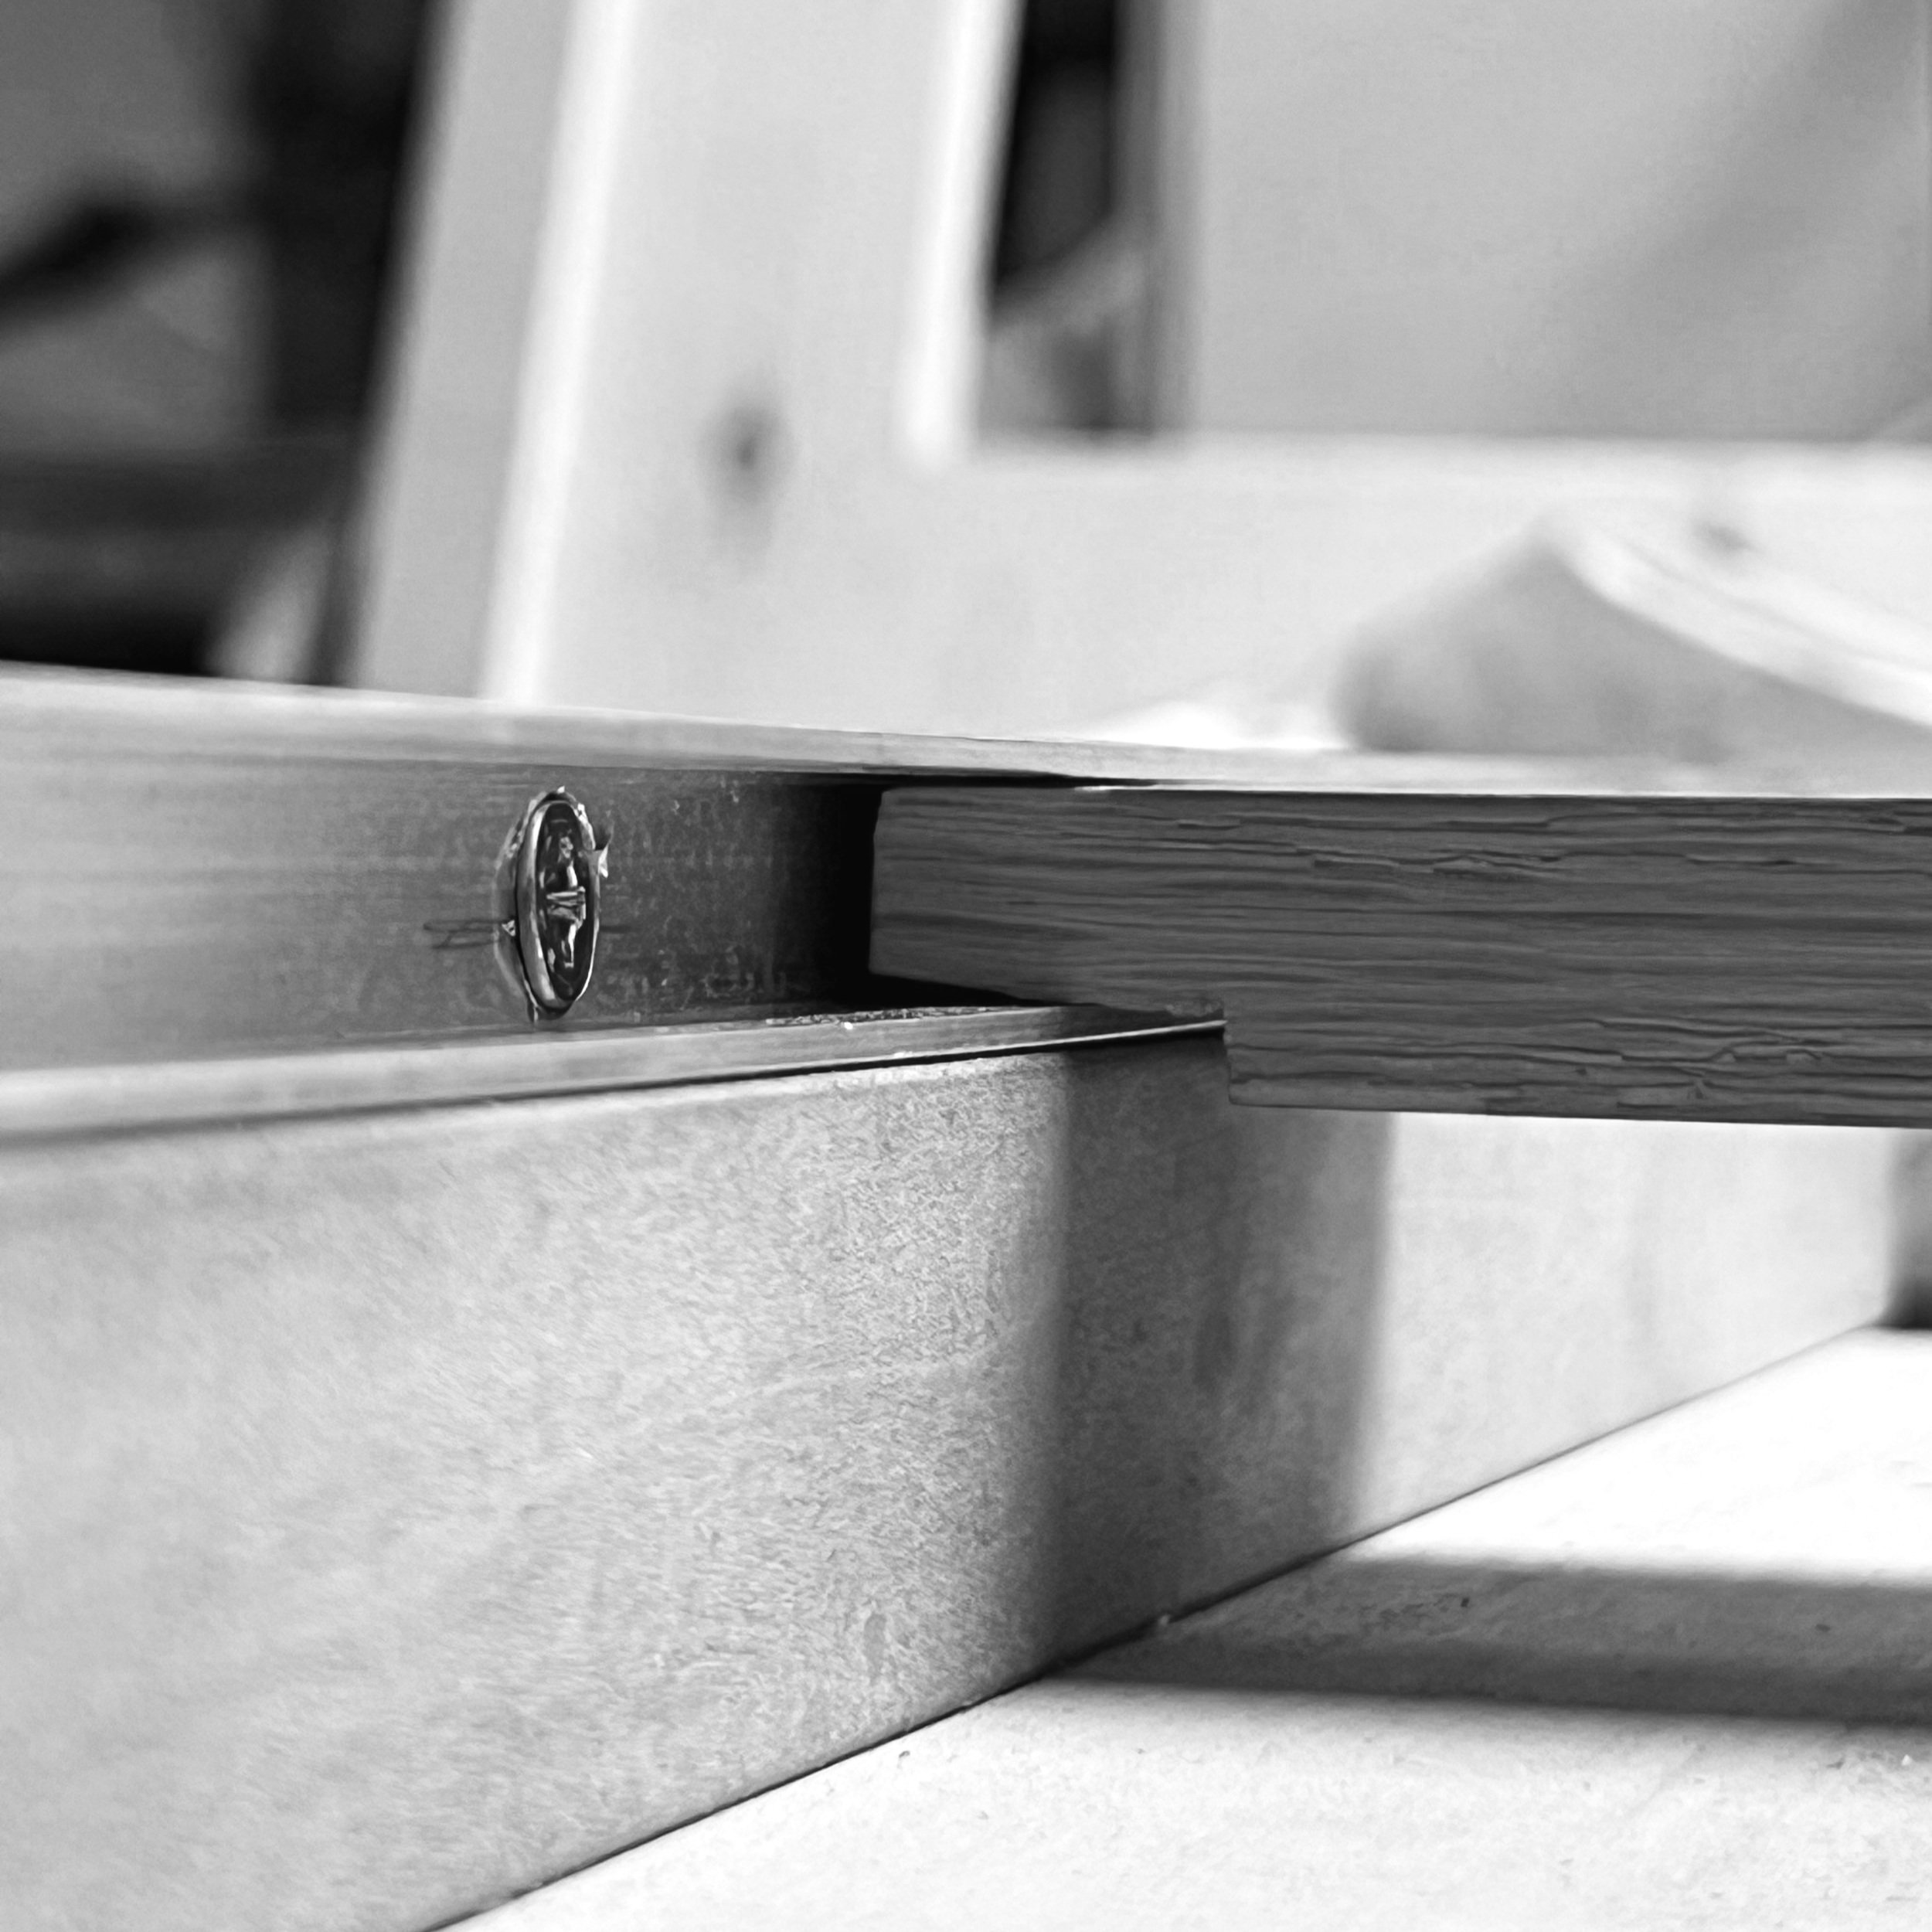
Rough in for the front standard mount / guide.

Imperfectly chamfered U channel affixed to internal (moving) rail. The wood bit on the right will slide forward and back for the front standard movement. Fine focus will be achieved with a worm gear (designed for a 3D printer).
Just when I started rolling on the camera again two things happened. I ran out of room again, and I saw the video below.
Photographer Richard Pence built an 11x14 field camera using lots of off-the-shelf parts, the most obvious and brilliant of them being Arca Swiss rails and mounts.
I am flabbergasted by its simplicity and compact design. The camera is really, really cool. And I’m pissed I didn’t think about my build with easy-to-buy stuff on my mind. I found cameras I thought looked nice and actually buildable for someone with limited woodworking skills. So it’s all custom, handmade parts.
My point is, now, thanks to Richard, I am at a crossroads. Do I fall into the sunk cost fallacy and complete the build I’ve started, or do I abandon the pieces I don’t need and attempt to build a 20x20 version of something similar to this new design.
I’ve got some pondering to do.
A fair amount of time has passed since my previous crossroads and, thanks to an opportunity to potentially shoot 16x20 plates, I decided to make a push to finish the design as it was originally designed, instead of pivoting.
Jared invited me to make plates with him as part of plein air he was invited to and I decided to try to finish in the two-week period I had before the event.


First real steps were to router out some bits of the main base to account for nut heads (underneath) and for the bearing blocks for the fine focus gear. I attached the outer part of the rails to the base with countersunk screws from underneath the base.

I tested the fine focus movement and attached the knob to the coupler.

Jared rolled through the next weekend and we talked through various problem-solving strategies for small elements I’d been putting off. I got the hinges attached to the rear standard and it started looking like a real camera.


I had some chamfering to do that I’d failed to account for in the design (the metal parts were machined really precisely, so anything I forgot before, I had to make up for).


Once the metal bits were on, the next big problems were how to attach the ground glass / plate holders, attaching the bellows to the rear standard, and attaching them to the front standard in a way that was removable so I could collapse the camera easily.

Under the bottom of the frame that holds the ground glass / plate holder is a small run of L channel so that there’s vertical support while attaching.


The latch I’m using (McMaster-Carr’s selection of stuff is incredible) attaches to a nail, which I know is bobo but it works.


Started on the rear bellows. I cut out a frame, clamped it (eventually re-cut the frame and pinned it from the side), and put in a ton of screws and washers. More hackery, for sure, but so far it works.
That all got attached to another frame that was then attached to the rear standard with screws and larger washers.

I tried to get everything else done before I actually mounted the bellows to the rear standard. Including figuring out lens board retention.

We talked about several ways of keeping the access door on the plate holder but I ended up using screen clip things that swivel.
I also did some waterproofing to the parts of the camera that will be touching liquids. I’m sure I’ll find out the places I missed soon enough.

I didn’t really document the way the front bellows attach because I was sort of in the zone, but it’s similar to the lens board attachment, but instead of the knob and washer that holds the lens board on, there’s an L shaped piece of wood that slides down behind the frame that’s attached to the bellows, and that L shaped pieces gets locked into place by two other knobs, from the top. Those knobs screw into T-nuts that are screwed into the top of the front standard (and drilled out to accommodate the bolt part of the knobs).

I have some things I need to tweak, but this is what it looks like all put together.

I also mounted my brass Zeiss Jena 400mm lens. I’m not 100% sure it’ll cover, but according to the old Zeiss brochure, it should cover if stopped down.
I didn’t end up getting to shoot this camera at the plein air, but I’ll report back (for the zero of you reading this) once I’ve shot it.
Finally had the chance to make a test plate!


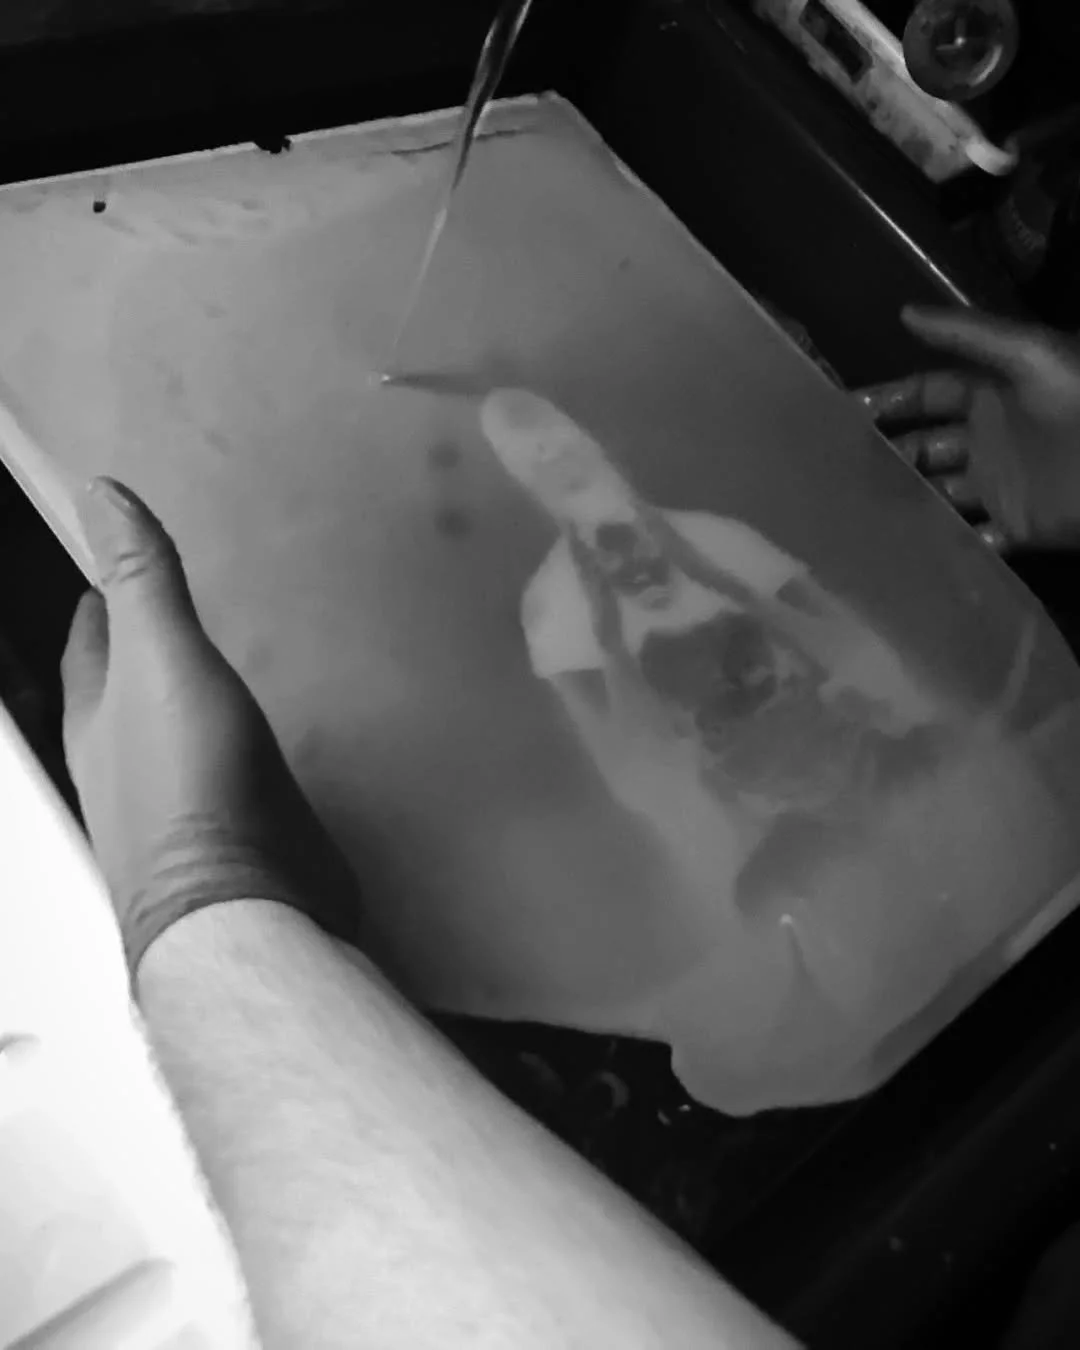
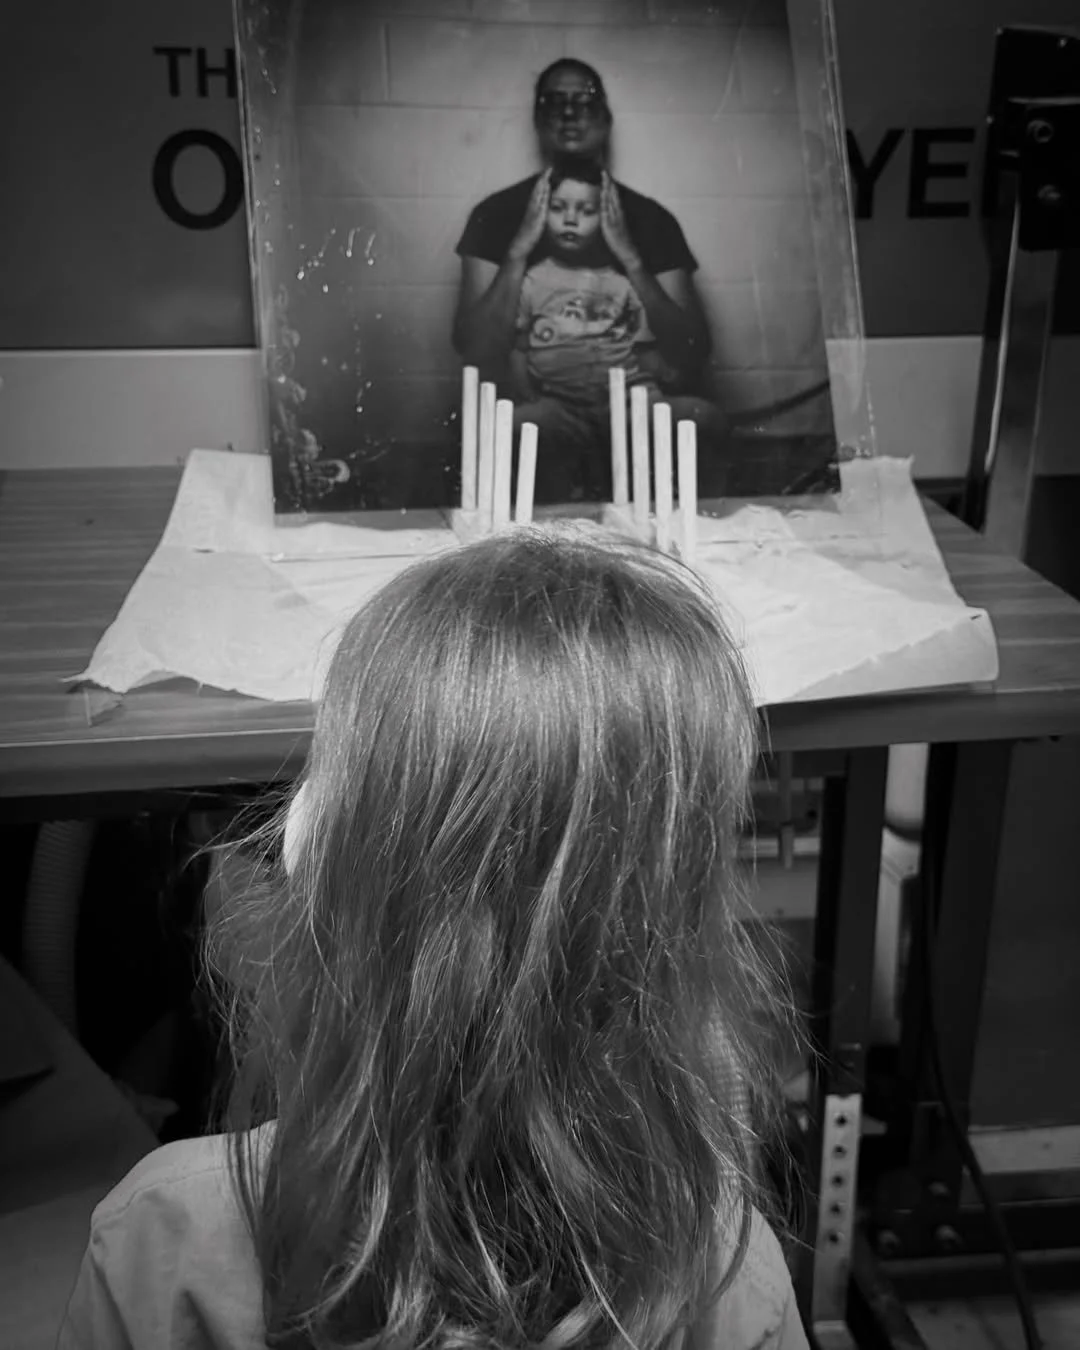
Jared was in town and we carved out some time to try the 16x20 camera. To my elation, it all seems to work as it should and I can move on to figuring out how to use it to its potential.
I’m glad to have finally finished this thing and to see that it actually functions.
@jaredragland took all these test plate photos (except the last one of Charlie’s mullet).

Snap of the first test plate. Ignore the composition. Also this was on glass for the sake of testing. Next plate will be on metal again.
I guess this wraps up the 20x20 camera build section. If you made it this far, I hope this was helpful, if for no other reason than to see what not to do.